“You can’t manage what you don’t measure”
I’m sure you’ve heard this quote before, but its never been more true than how you need to view your website. You might think that your website is “getting the job done” or “my website is up so it must be working”, but you’d be suprised at how many things can prevent your website from making you money, and guess what, you’re paying someone to host that website so you need to make sure it actually is making you money.
This is where Google Analytics comes along. Google Analytics is the defacto standard when it comes to basic (and advanced) measuring for your website. For the purpose of this post, we will focus on the most basic aspects of Google Analytics so that you have something you can look at every day and be confident that your website is in a good spot.
Lets dive in.
1.) Create a Google Analytics account
First things first, head over to Google Analytics and login with your Google account. This can be whatever account you want this to be, but I highly recommend this to be a business oriented account. Just incase your personal account is infultrated somehow, your business data will stay in-tact.
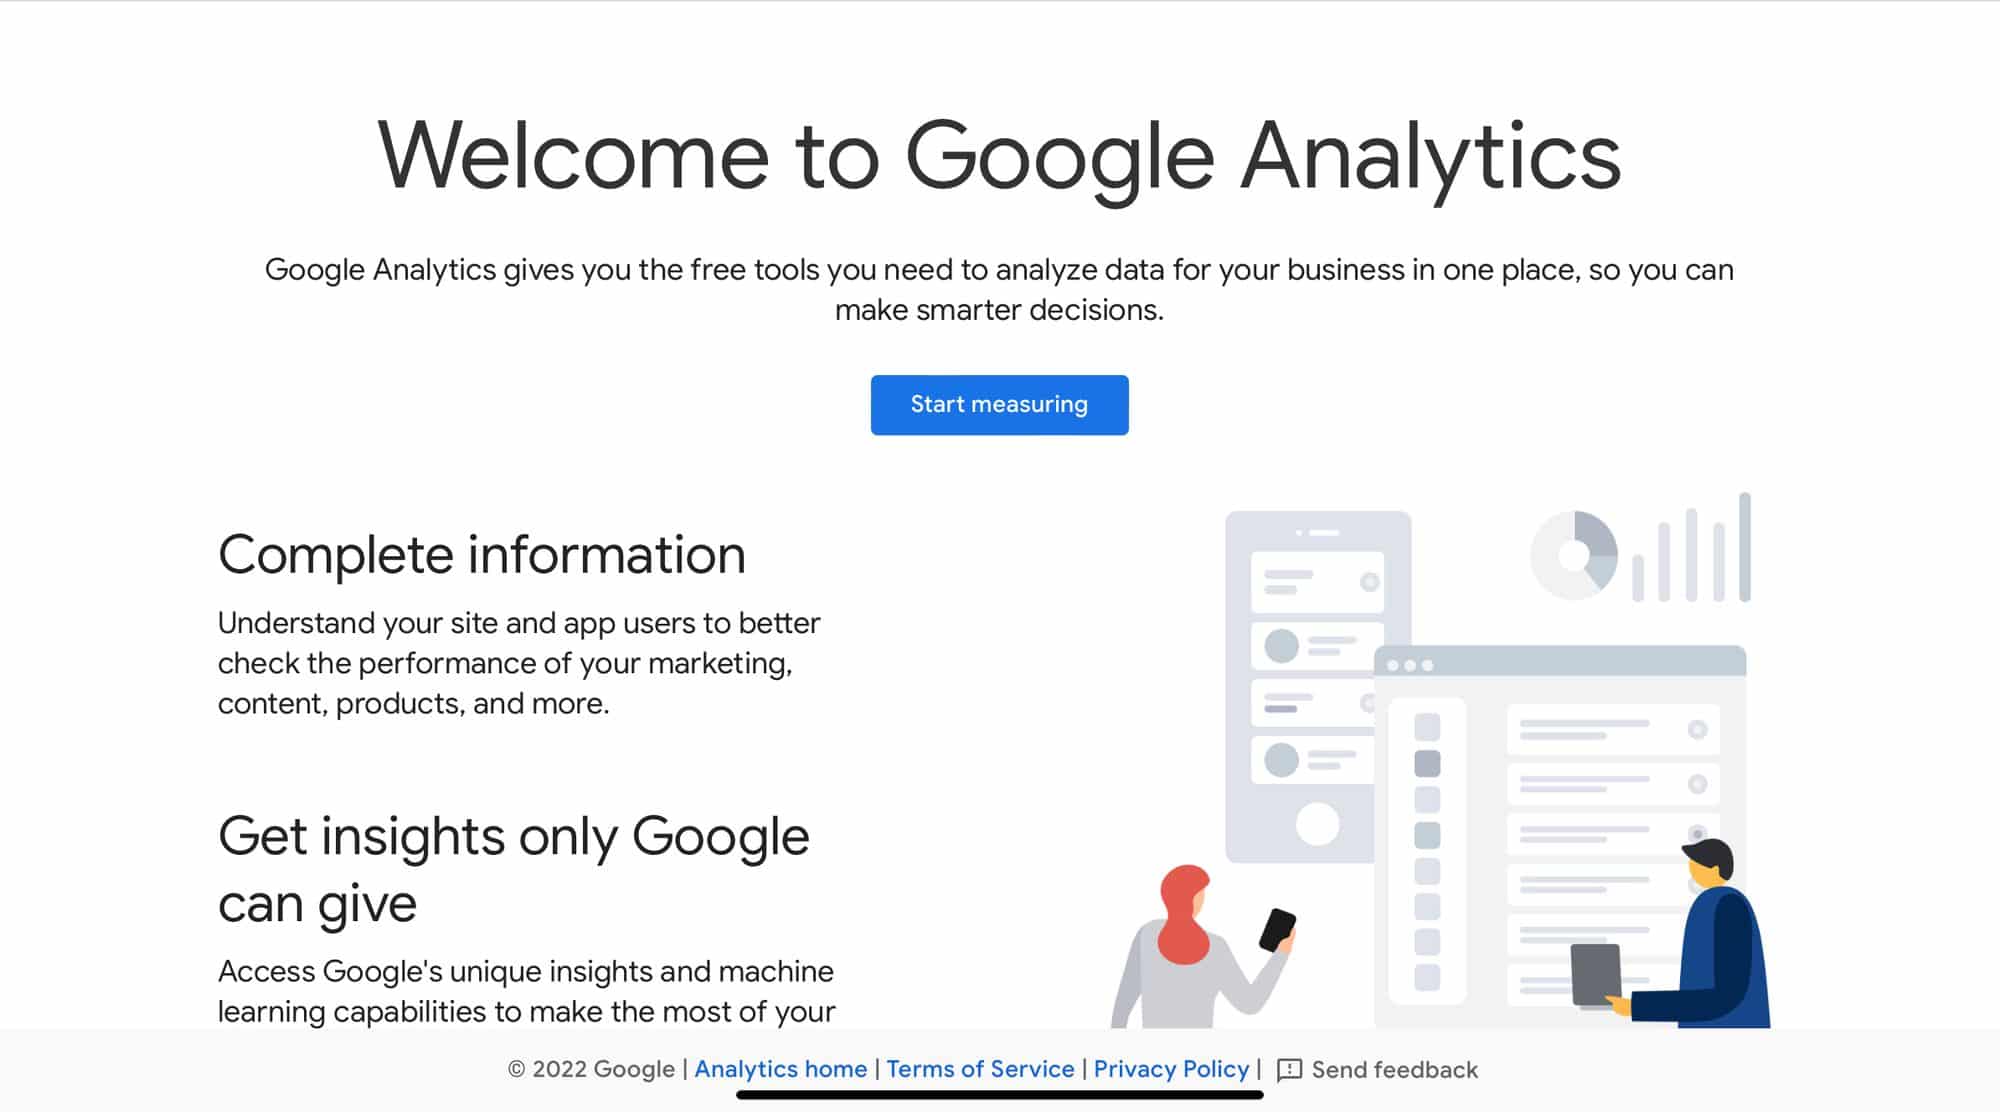
You will see this screen, just hit Start Measuring to proceed.
The next few screens are basic information, you can fill these in as follows
Account Name: The name of your business
Property Name: Typically the name of the website you are montoring
Business Information: Fill out the business size, the rest you can ignore
Once you proceed to the next screen, you will be prompted with an agreement, so just hit I Accept.
2.) Analytics Installation
Don’t be alarmed. Again, there is no coding required for this to work. What you will be doing is searching for a plugin and hitting a few buttons. Ready?
Hit the Web button below. This will generate something for you.
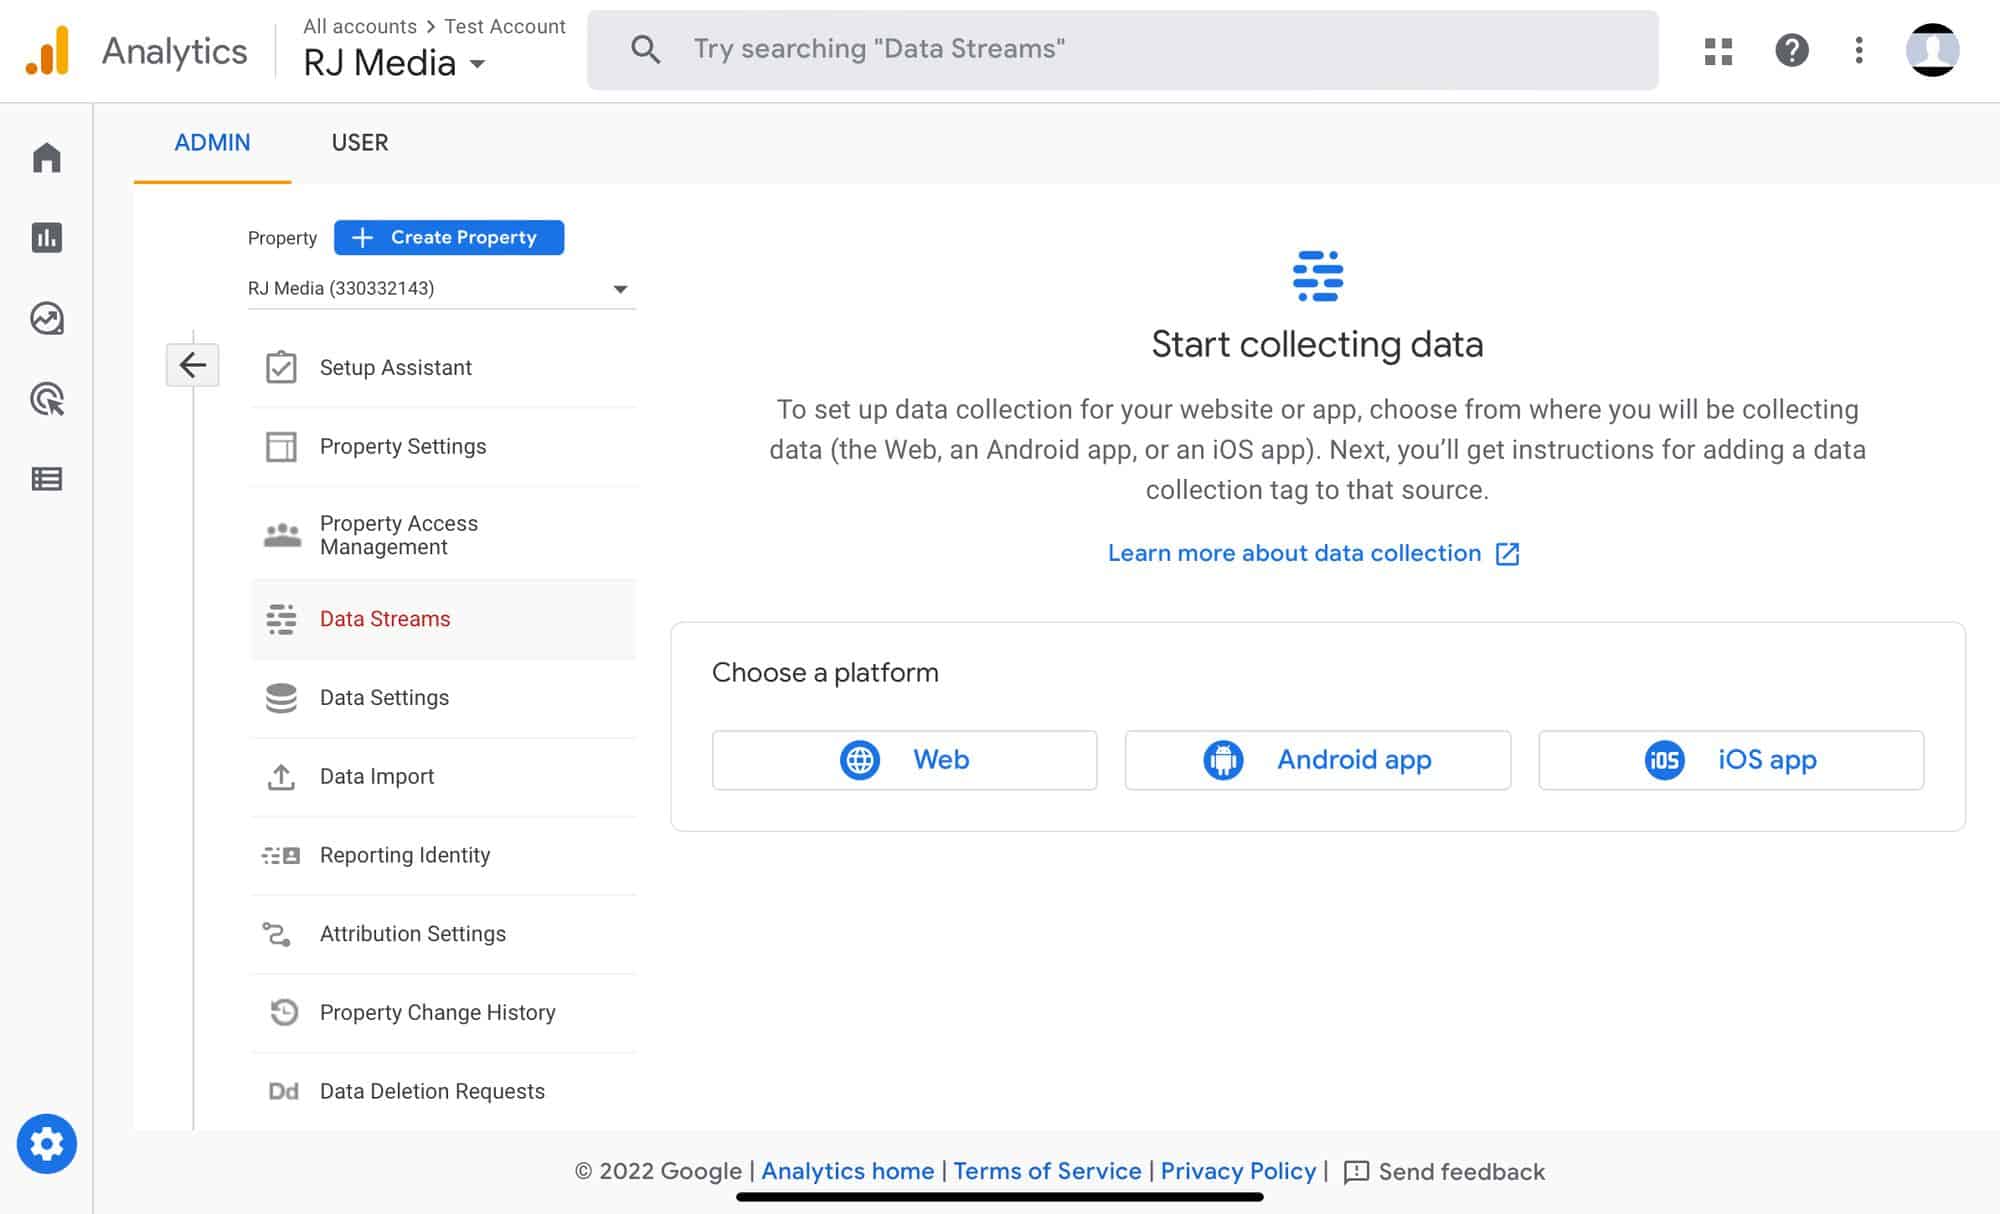
You will then be promped with a screen that allows you to type in your website, simple enough, right?
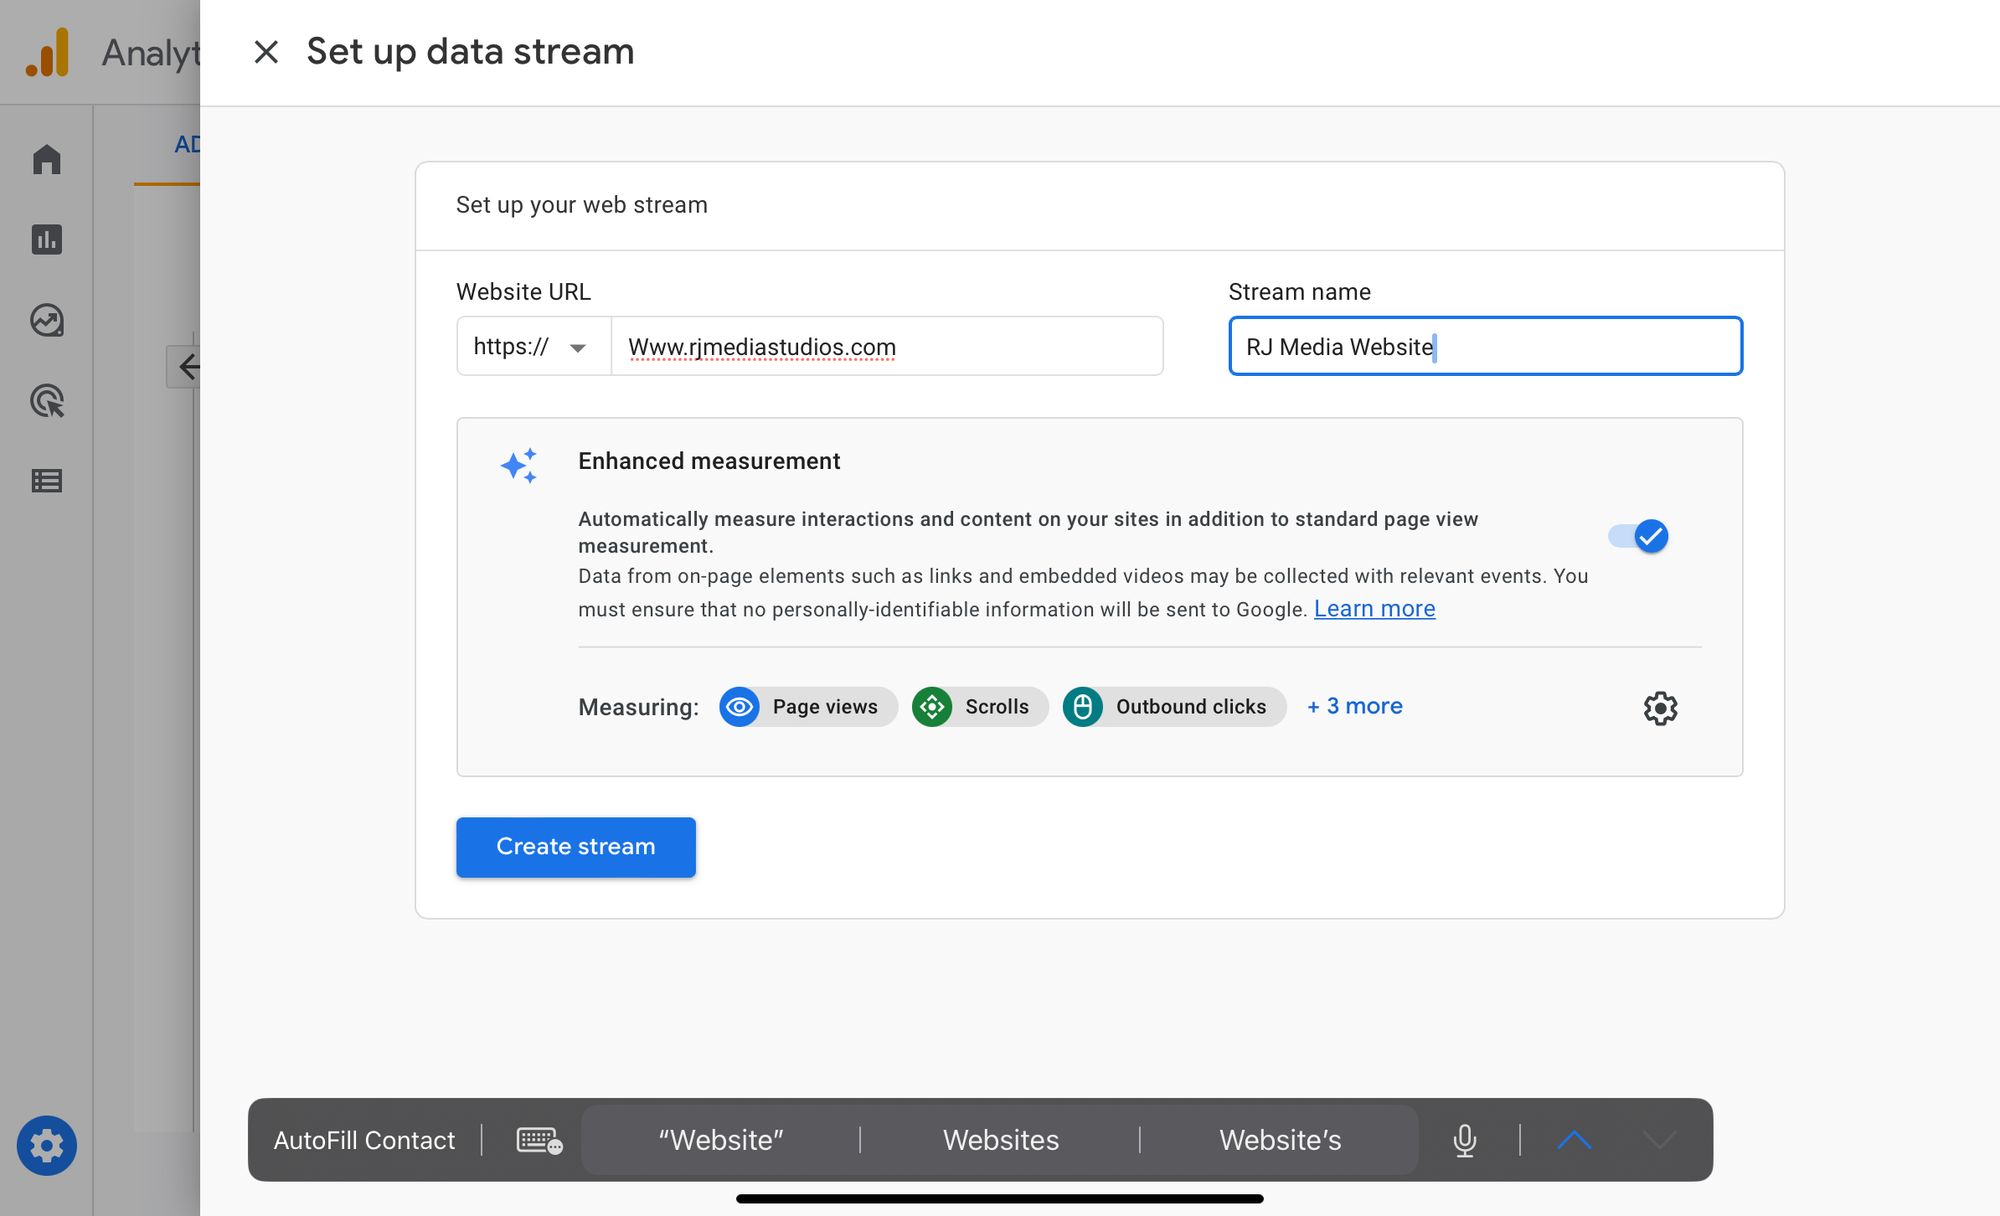
Click Create Stream, and you have created your very first analytics stream. Before you pat yourself on the back, just 2 more steps left for this part.
This part depends on the type of website you have. You most likely have a WordPress website. WordPress powers the vast majority of business websites out there. For this article, I am covering a wordpress website.
Login to your website by going to www.yourwebsite.com/wp-admin. Again, don’t be alarmed by that website, it’s almost like logging into your email, you just have to add that “/wp-admin” part at the end of your business website address, nice and simple. You should have the username and password to login to this screen.
Once you are logged in, click on Plugins on the left, then Add New.
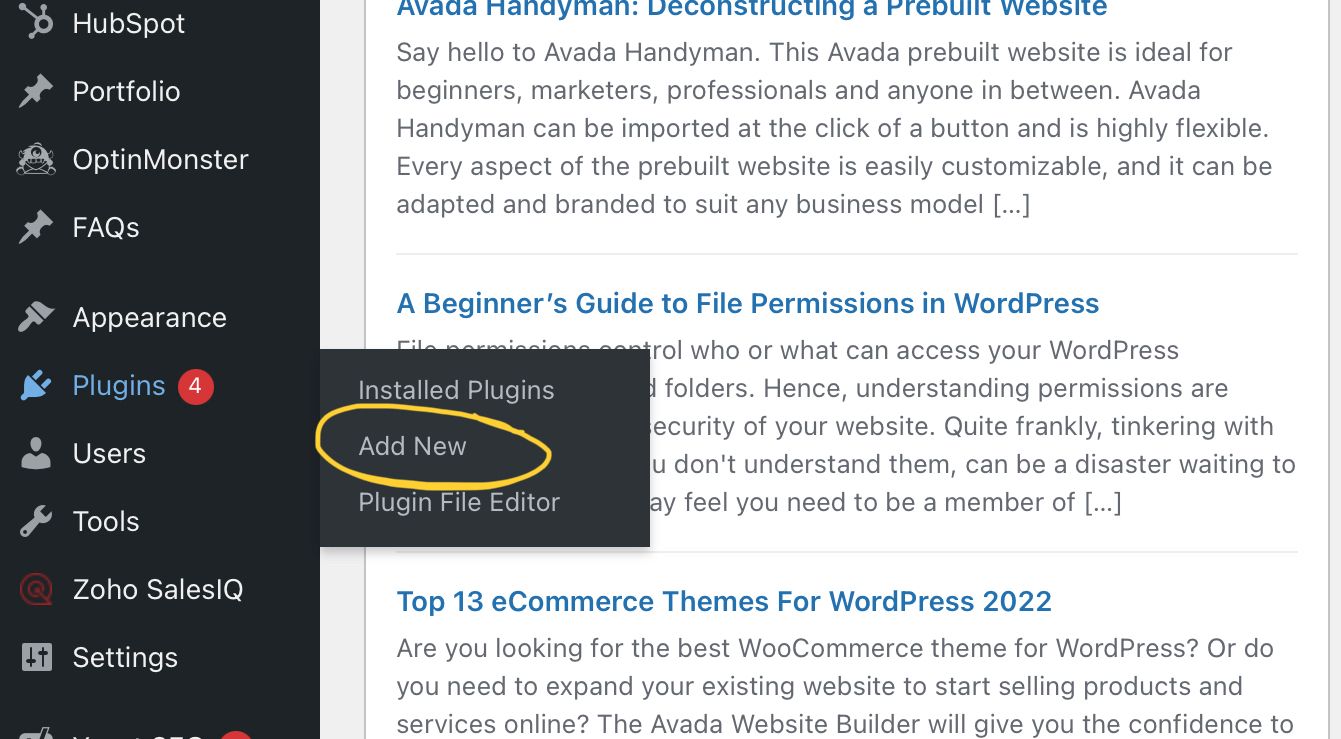
Once you get to the plugins screen, just type in Google in the search field and select the Site Kit by Google. You will see 2+ milion installs so that you know its the correct one. Click Install Now (Mine says Update because I already have it installed on my website).
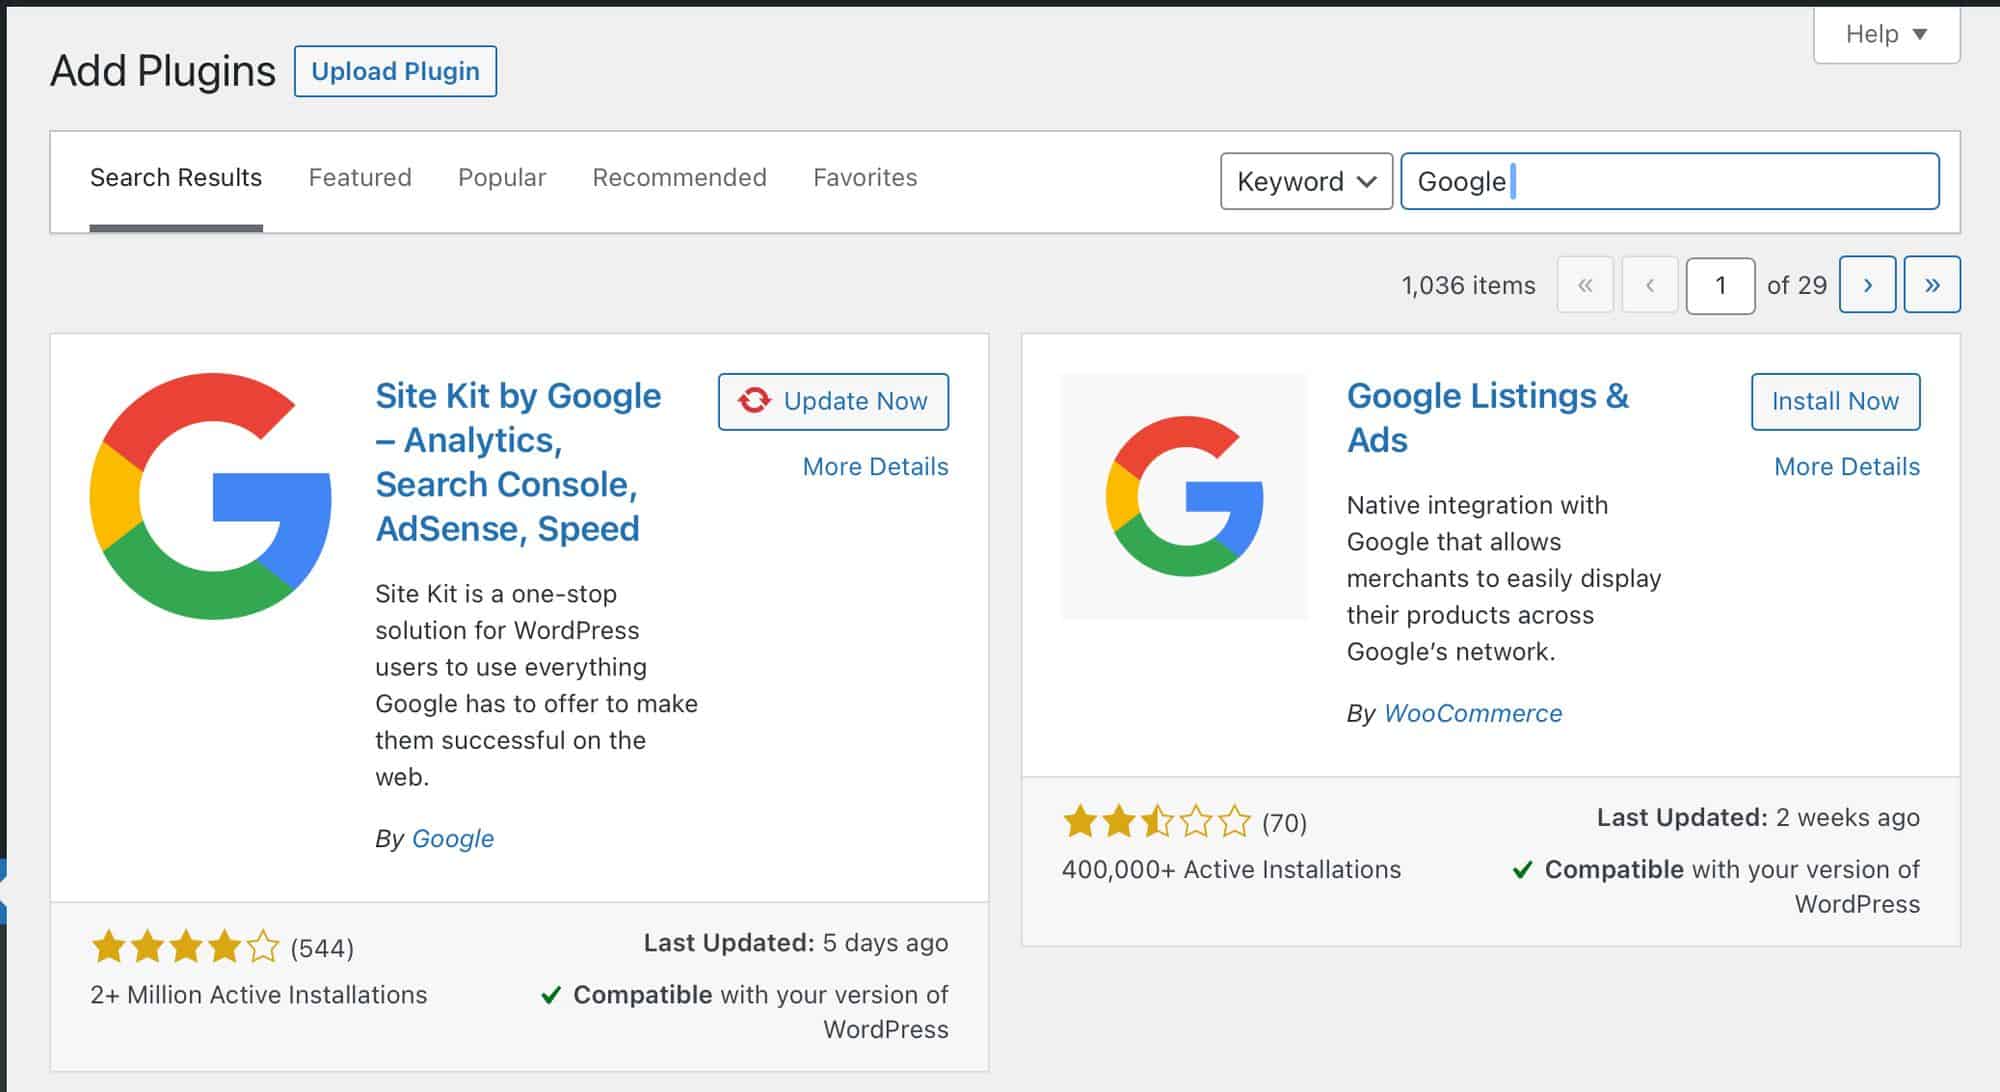
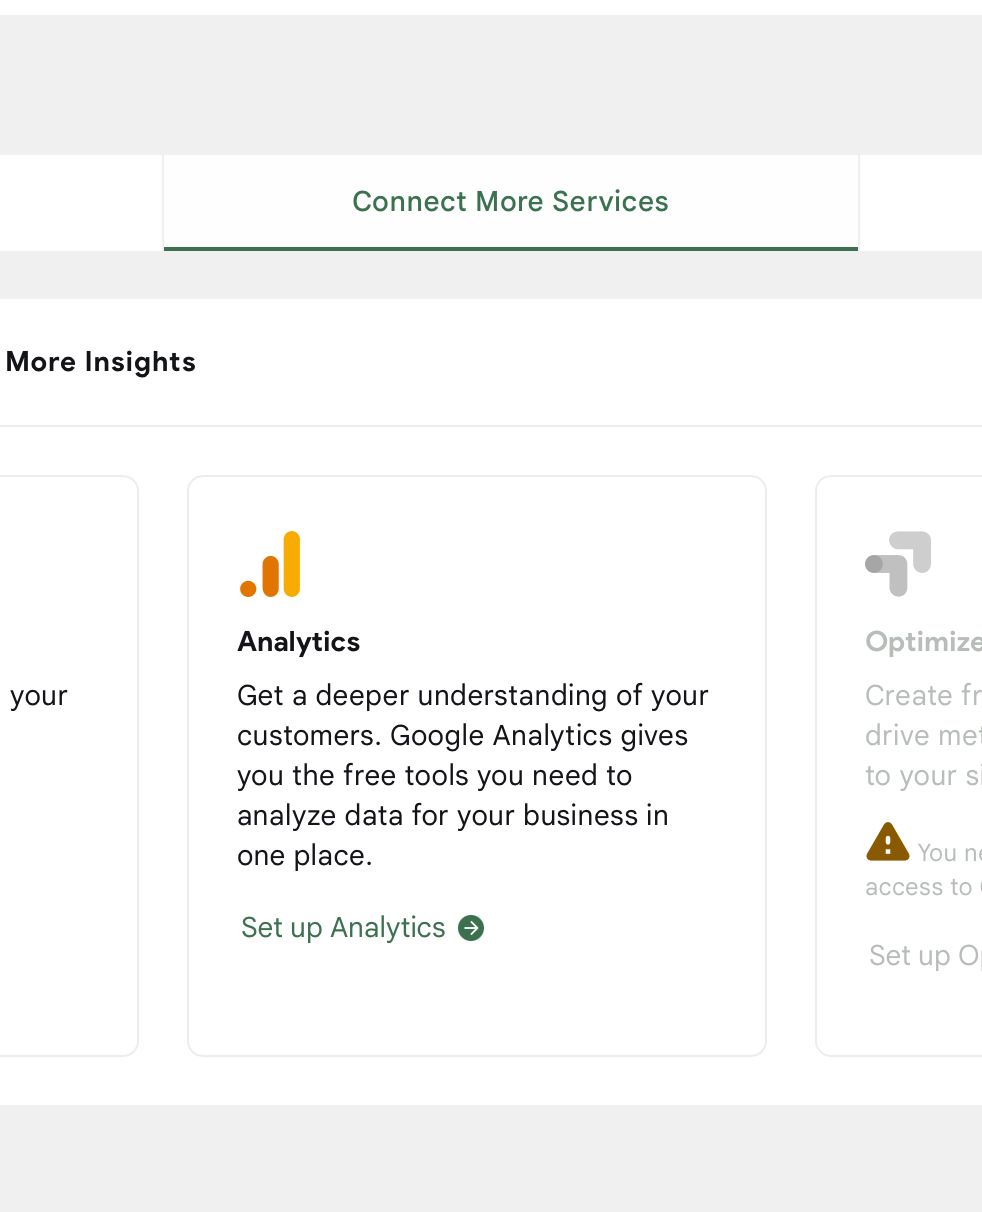
Once this is completed, you will be prompted to login to Google. You must use the exact same Google account that you used to setup your analytics. If you are using the same web browser, odds are it will automagically sign you in and you just have to hit an allow button. Once you connect, look for Google Analytics like shown and click on Setup Analytics,
FINAL STEP. This is it, the home stretch. All you have to do here is click on the correct account for your analytics, which odds are is the only account in there annd hit Configure Analytics.
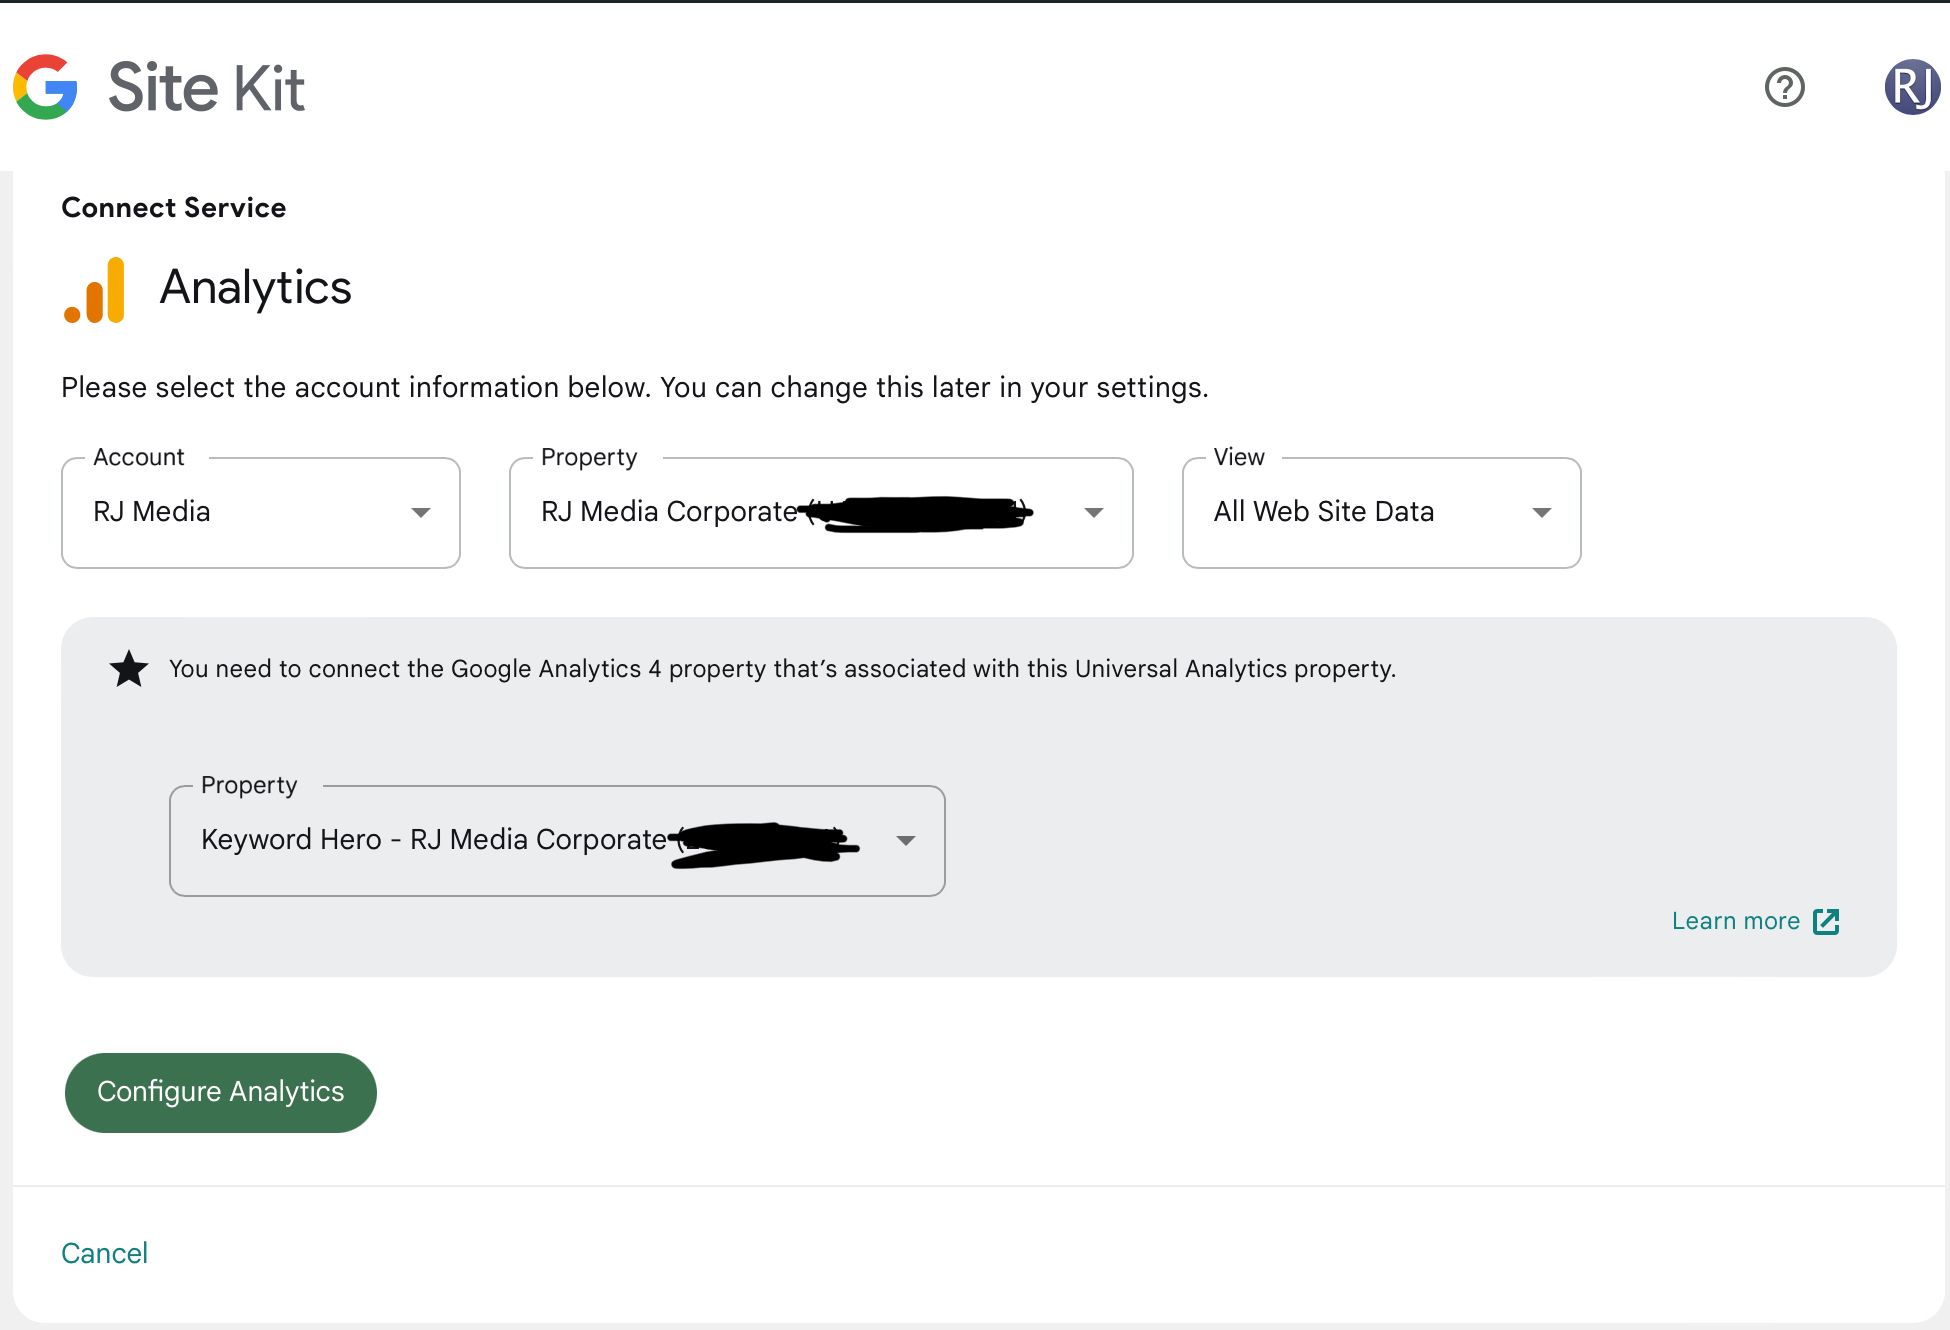
Congratulations!! You setup Google Analytics on your website!
Now what?
I will be diving into the actual analytics portion soon and post it here once its updated. If you’re subscribed you will get an email anyway with the link.

